How to Setup Homey Pro: A Quick and Easy Guide
Congratulations on becoming the proud owner of a new Homey Pro! This powerful smart hub is your ticket to a seamless and interconnected smart home experience. In this step-by-step guide, we'll walk you through the simple process of setting up your Homey Pro and unlocking the full potential of your smart devices.
Getting Started with Homey Pro
So, you've got your hands on the Athom Homey Pro, and the excitement is real! Before you jump into the setup, let's make sure you're all set.
Unboxing Your Homey Pro
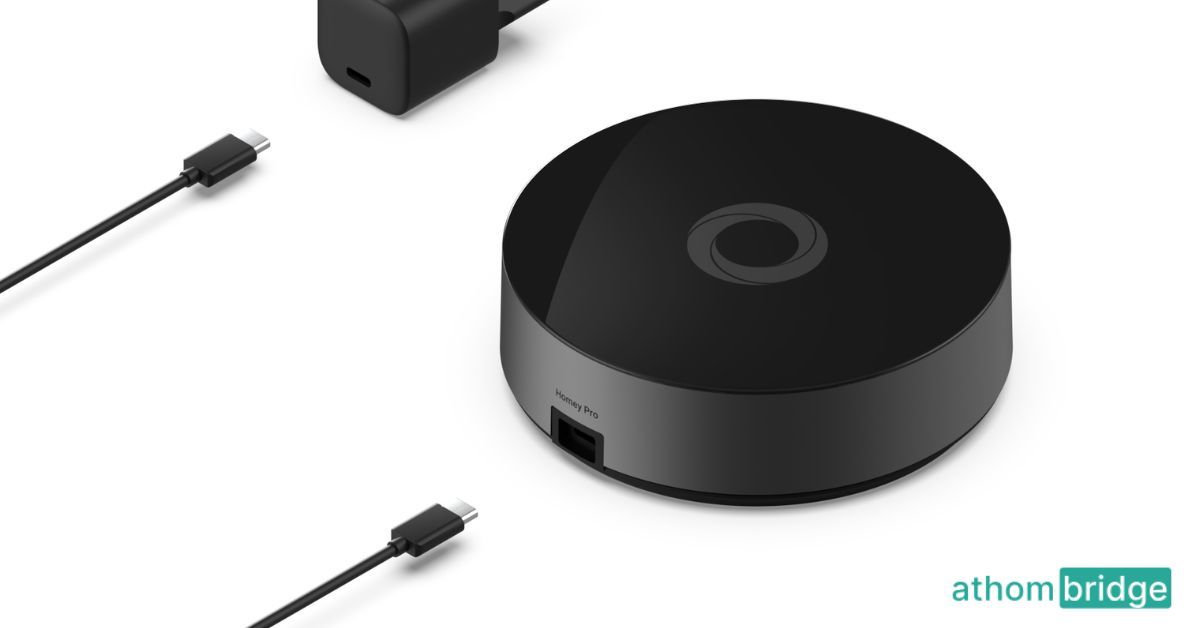
When you get your Homey Pro, it feels exciting, right? Before anything, unbox it carefully. Ensure you have all the items: the Homey Pro hub, cables, and any other accessories.
Gathering Essentials
Before diving into the setup and install Homey Pro, ensure you have:
- Your Homey Pro device
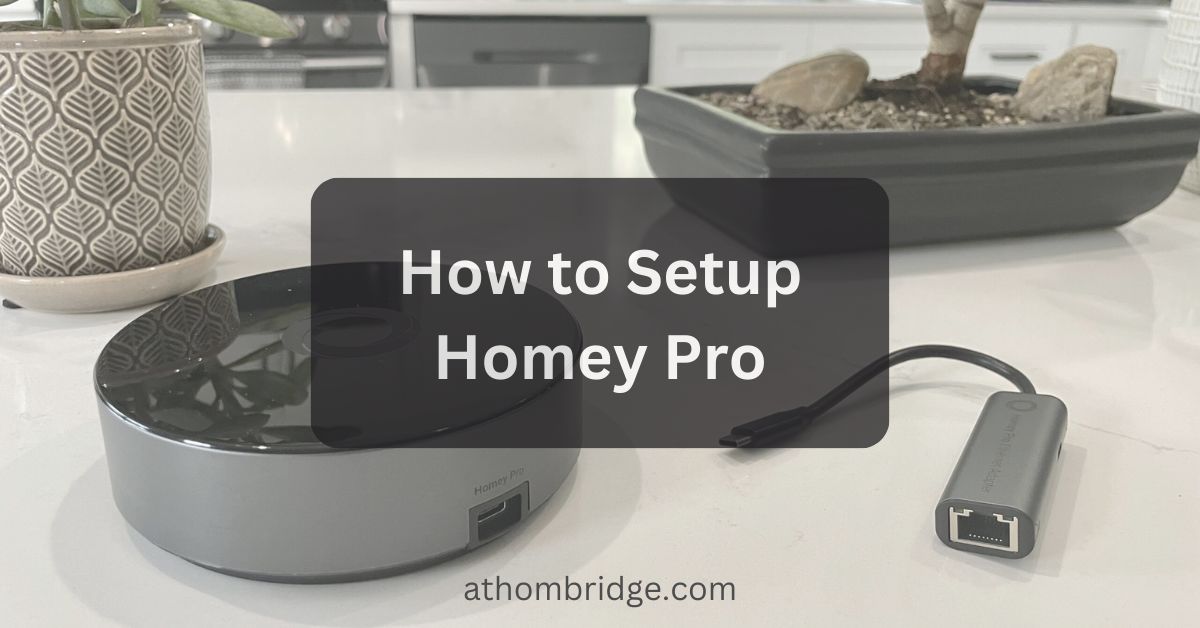
- Necessary cables (like USB-C or Ethernet, depending on your preference)
- A stable Wi-Fi connection
- A smartphone or tablet ready for the Homey Athom app
Step-by-Step Guide to Setting Up Your Homey Pro
Now that you're familiar with what comes in the box and the essentials you need, let's delve deeper into the step-by-step process of setting up your Homey Pro.
Connecting Power and Cables
- For USB-C Connection: Plug one end of the USB-C cable into the Homey Pro hub. Connect the other end to the power adapter. Plug the adapter into a power outlet.
- Using Homey Pro Ethernet: If you have an Ethernet cable, connect it to your Homey Pro and then to your router. This method ensures a stable connection.
Observing LED Indicators
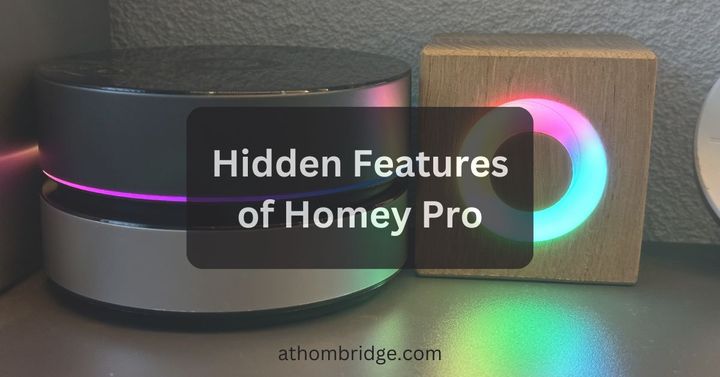
Once powered, look at the LED ring on your Homey Pro. Initially, it'll circle white. After a brief moment, it'll start breathing a calming blue hue. This means your Homey Pro is gearing up for setup!
Downloading and Setting Up the Athom Homey App
- Download the App: Head over to your app store, be it iOS or Android. Search for "Athom Homey" and download the app.
- Creating or Signing In: Open the app. If you're new, sign up for a new account. If you've used Homey before, just sign in.
Initiating the Homey Pro Setup
Inside the app:
- Tap on the option that says "New Homey" or similar.
- Choose the "Homey Pro 2023" option. This ensures you're setting up the latest version.
- Follow the prompts on the screen. It's like a friendly guide leading you through the setup maze.
Enabling Bluetooth and Permissions
During the setup, the app might ask for permission. Make sure:
- Bluetooth is turned on.
- You grant the app permission to scan and detect nearby devices. This ensures smooth communication with your Homey Pro.
Looking for an affordable bridge that enables connecting any smart device with Apple HomeKit? Get Athom HomeKit Homebridge Server.
Further Enhancements with Homey Pro 2023
Now that you've set up your Homey Pro. Consider exploring its other features:
- HomeKit Compatibility: Wondering about Homey Pro HomeKit integration? With the 2023 version, you're in luck! Dive deeper into the settings to integrate with your Apple HomeKit devices.
- Homey Pro Plejd Integration: If you have Plejd smart devices, Homey Pro supports seamless integration. Explore the possibilities within the app.
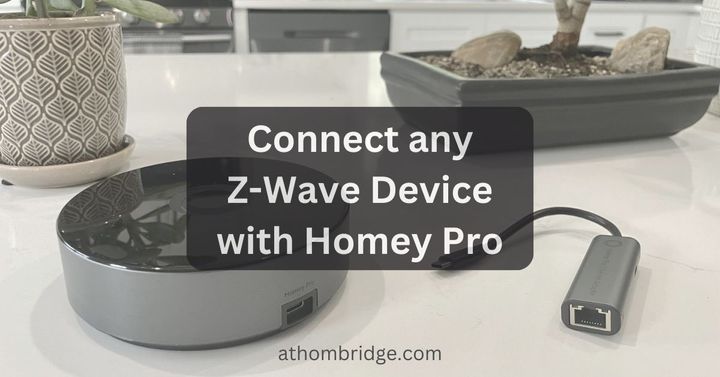
- Ethernet Options: Want to boost connectivity? Check out the Homey Pro Ethernet settings. By connecting via Ethernet, you ensure faster and more reliable performance.
Read More: How to Connect any Z-Wave Device with Homey Pro
Troubleshooting Tips for Homey Pro Setup
- Resetting Homey Pro: If you face issues, consider resetting your device. There are easy steps available in the app or manual.
- Issues with LED Indicators: If your LED doesn't turn blue as expected, consider resetting or checking connections.
- Additional Support: For any hiccups or questions, always refer to the Athom Homey support center. They have articles, guides, and a helpful community to assist you.
Check out our article on How to Connect any Zigbee Device with Homey Pro for further insights.
Final Thoughts
In just a few simple steps, you've successfully set up your Homey Pro, unlocking a world of possibilities for your smart home. Enjoy the convenience of centralized control, automation, and compatibility with various devices. As you embark on this smart home journey, Homey Pro will be your reliable companion, making every interaction with your smart devices a breeze.
Remember, your Homey Pro is not just a hub; it's the heart of your smart home, connecting and enhancing your living space in ways you never imagined. Welcome to a smarter, more connected home with Homey Pro!
FAQs on Homey Pro Setup
1. Is the Athom Homey SmartHub Pro compatible with all smart devices?
Yes, the Athom Homey Pro boasts extensive compatibility, supporting a wide range of smart devices, including lights, thermostats, locks, and more. Its versatility ensures seamless integration into your existing smart home ecosystem.
2. Can I connect my Homey Pro to Apple HomeKit for enhanced smart home control?
Absolutely! Homey Pro (Early 2023) supports HomeKit integration, allowing you to centralize control and manage your smart devices effortlessly. Follow our guide for a smooth integration process.
3. What role does Bluetooth play in setting up Homey Pro (Early 2023)?
Bluetooth is essential during the setup process, enabling Homey Pro to detect and connect with nearby devices. Ensure your mobile device has Bluetooth enabled, and grant the Homey app permission for a hassle-free setup.
4. How does the Homey Pro Ethernet Adapter enhance the smart home experience?
The Homey Pro Ethernet Adapter provides enhanced stability and speed for serious smart home enthusiasts. By connecting Homey Pro to Ethernet, users can enjoy a more robust and reliable smart home experience.
5. Is there ongoing support if I encounter issues during the setup process?
Certainly! If you face any challenges or have questions, the Homey Support Center is ready to assist. Submit a request for prompt and helpful guidance, ensuring a smooth and enjoyable experience with your Athom Homey SmartHub Pro.

