How to add myQ Camera to Apple HomeKit using ATH Bridge
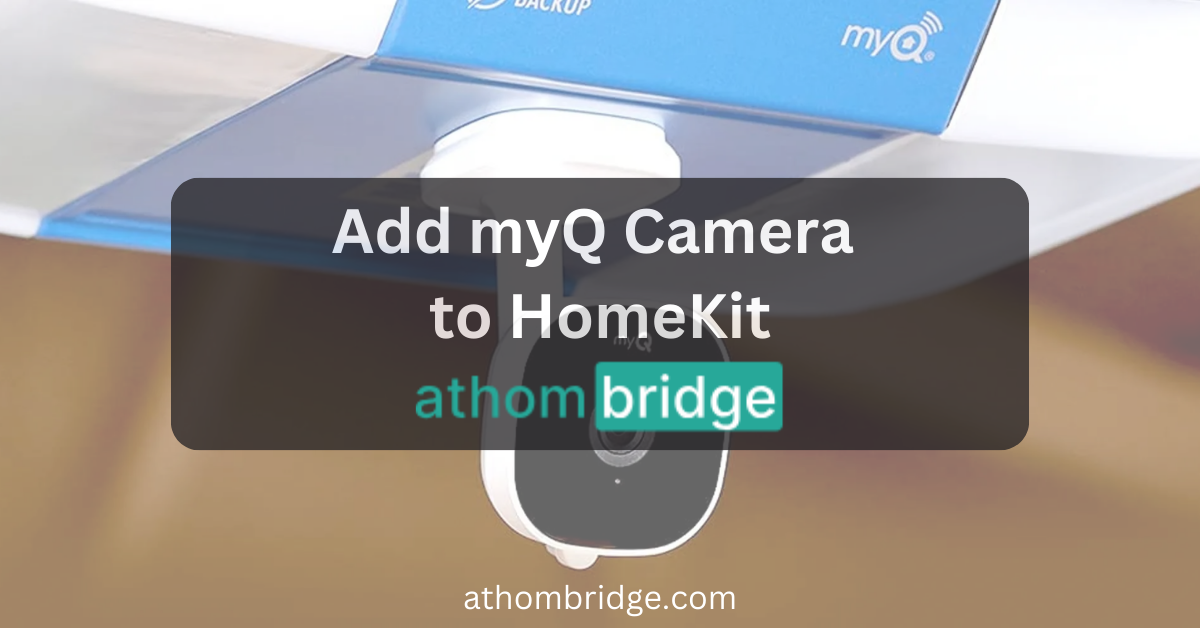
The integration of myQ smart home devices into the Apple HomeKit ecosystem can significantly enhance your home automation experience. While myQ does not natively support Apple HomeKit, it is still possible to control myQ devices, such as garage door openers, within the HomeKit framework. In this article, we will explore how to add a myQ camera to Apple HomeKit using the AddToHomeKit Bridge, a device that serves as a bridge between non-HomeKit devices and the Apple ecosystem.
Why Choose ATH Bridge
Before diving into the process of integrating a myQ camera with Apple HomeKit, it’s essential to understand why the Add to HmeKit Bridge is an excellent choice for this purpose. The ATH Bridge provides a straightforward and cost-effective solution for connecting non-HomeKit devices to the HomeKit ecosystem. It seamlessly integrates with Apple HomeKit, allowing you to control and monitor your myQ camera through the Home app and Siri voice commands.
Adding myQ Camera to Apple HomeKit Using Add To HomeKit Bridge
Now that we understand the benefits, let’s walk through the steps to add a myQ camera to Apple HomeKit using the ATHBridge.
Step 1: Purchase the AtH Bridge
To get started, you will need to purchase the ATH Bridge, which serves as the essential bridge between your myQ camera and Apple HomeKit. The device typically comes pre-flashed and ready to use.
Step 2: Connect the ATH Bridge
Plug the ATH Bridge into an available electrical socket and connect it to your home Wi-Fi network. This step is crucial for ensuring that the ATH Bridge is accessible on your local network.
Step 3: Install and Set Up
After successfully connecting the ATH Bridge to your network, follow the setup instructions provided with the device. This usually involves creating an account and connecting the device to your Wi-Fi network.
Step 4: Install myQ Plugin
Within the ATH Bridge’s interface, locate the plugin section and search for “myQ.” Install the myQ plugin designed for the Athom Bridge.
Step 5: Configure myQ Plugin
Configure the myQ plugin with your myQ account credentials, including your email and password. This step establishes the connection between the ATH Bridge and your myQ camera.
Step 6: Pair ATH Bridge with HomeKit
Open the Home app on your Apple device and navigate to the section for adding accessories. Scan the QR code displayed on the ATH Bridge’s interface to pair it with Apple HomeKit.
Step 7: Control myQ Camera via HomeKit
Congratulations! You have successfully added your myQ camera to Apple HomeKit using the ATH Bridge. You can now control and monitor your myQ camera using the Apple Home App and Siri voice commands. This includes viewing live feeds, accessing recorded footage, and incorporating your camera into HomeKit automation.
If you have other smart devices, you can buy Enomek Homekit enabler. It supports all of your smart home devices including ZigBee devices.
See more: 6 ways to add myQ devices to Apple HomeKit
Benefits of Integrating myQ with Apple HomeKit
Integrating myQ devices, such as cameras, with Apple HomeKit offers several advantages:
- Seamless Control: Gain the ability to control your myQ camera directly from the Apple Home App, providing a unified interface for managing your smart home devices.
- Voice Control: Utilize Siri to issue voice commands for controlling your myQ camera, making it even more convenient to monitor your home.
- Automation: Integrate myQ devices into your HomeKit scenes and automation to create a fully interconnected and automated smart home experience.
Uncover the process of adding myQ Garage Door Opener to Apple HomeKit using ATH Bridge
Final Thoughts
Integrating your myQ camera with Apple HomeKit using the ATH Bridge opens up a world of possibilities for enhancing the security and convenience of your smart home. With this setup, you can seamlessly incorporate your myQ camera into your HomeKit ecosystem, providing easy access to video monitoring and automation. Follow the step-by-step guide outlined in this article, and you’ll be well on your way to enjoying the benefits of a smarter and more connected home.
By leveraging the ATH Bridge’s capabilities, you can extend the compatibility of your non-HomeKit devices, making it easier than ever to manage and control your smart home devices within the Apple HomeKit ecosystem.
FAQs about myQ Camera HomeKit
How do I connect myQ Home Bridge to HomeKit?
Step 01: Connect your mobile device to Wi-Fi
Step 02: Click the plus sign icon to add devices and accessories
Step 03: Find the accessory code for your HomeBridge device
Step 04: It takes time to sync and identify your device
Step 05: Finally, you can add myQ Home Bridge to HomeKit
Is Chamberlain myQ compatible with Apple HomeKit?
No. myQ Chamberlain devices aren't officially compatible with HomeKit. But, after using third-party solutions like Enomek, you can easily add your Chamberlain devices to HomeKit.
How do I add myQ camera to Homebridge?
If you want to add myQ camera to Homebridge, you can use the Enomek solution. It provides step by step guide for adding your devices to Homebridge.