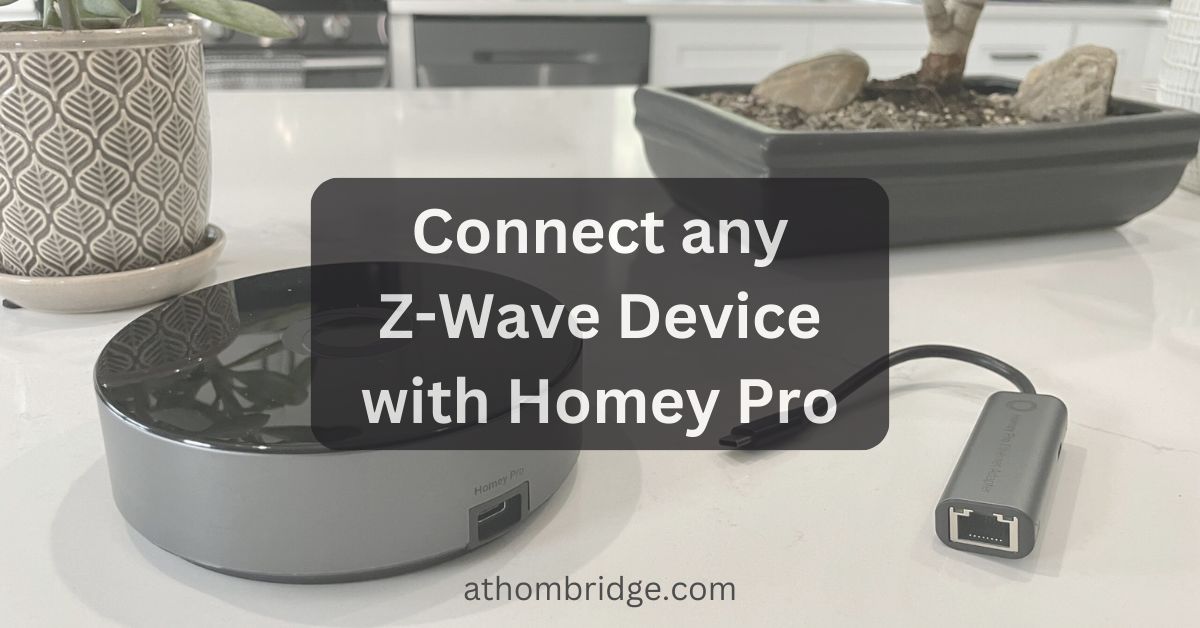
How to Connect any Z-Wave Device with Homey Pro

Navigating the world of smart home gadgets can feel confusing, but the Homey Pro shines when connecting Z-Wave devices. This hub is known for easily linking up with various gadgets, making your smart home dreams come true without headaches. So, how can you connect a Z-Wave device to a Homey Pro? Let's simplify it step by step.
Why Choose Homey Pro for Z-Wave Integration?
Simply put, Homey Pro makes managing your smart home a breeze. It's user-friendly and works really well with many devices, especially those using Z-Wave. If you're aiming to make your home smarter without complications, Homey Pro is a top pick.
If you want to add any Z-wave devices to Apple HomeKit, you can find the Athom Bridge as well.
Benefits of Using Homey Pro with Z-Wave
- Seamless Integration: Homey Pro offers seamless integration with a broad spectrum of Z-Wave devices, ensuring that you can build your dream smart home without compatibility hiccups.
- Advanced Features: With features like Z-Wave mesh networking, association, and healing, Homey Pro elevates your smart home experience, offering enhanced control and reliability.
- Expandability: Whether you're starting small or dreaming big, Homey Pro's scalability ensures that your smart home grows with you, accommodating new Z-Wave devices effortlessly.
Looking for an affordable bridge that enables connecting any smart device with Apple HomeKit?
Getting Started with Z-Wave Integration
Ensuring Compatibility
Not all Z-Wave devices are created equal. Before attempting to pair a device with Homey Pro, it's vital to verify its compatibility. Homey Pro boasts extensive Z-Wave compatibility. But conducting a quick compatibility check can save you time and frustration.
Updating Device Firmware
In the dynamic realm of smart home technology, firmware updates are commonplace. Before integrating your Z-Wave device with Homey Pro, ensure that its firmware is up-to-date. This ensures optimal performance, compatibility, and stability.
Resetting Devices
If you're transitioning a Z-Wave device from another hub, it's vital to reset it to its factory settings. This clears any previous configurations, ensuring a fresh, hassle-free setup with Homey Pro.
A Step-by-Step Guide to Connect Z-Wave Devices to Homey Pro

Initial Configuration with Homey Pro
- Establishing Connection: Begin by connecting your Homey Pro hub to your home network. Ensure a stable connection to facilitate smooth device pairing.
- Navigating the Interface: Access the Homey Pro dashboard. It's your gateway to a world of smart home possibilities. Familiarize yourself with the interface, setting the stage for a seamless Z-Wave integration.
Pairing Z-Wave Devices
- Activating Pairing Mode: Put your Z-Wave device into pairing mode. Typically it's achieved by pressing a specific button or following device-specific instructions.
- Initiating Pairing via Homey Pro: Navigate to the Z-Wave section within the Homey Pro app. Start the pairing process. Follow the on-screen instructions, allowing Homey Pro to detect and pair your Z-Wave device effortlessly.
Configuring Device Settings
- Fine-Tuning Parameters: Once paired, delve into the Homey Pro interface. Adjust device-specific parameters to suit your preferences. Whether it's adjusting sensitivity levels or defining automation rules, Homey Pro offers unparalleled customization options.
- Exploring Advanced Features: Dive deeper into Homey Pro's advanced Z-Wave features, such as Z-Wave mesh networking, Homey Z-Wave association, and healing. These features optimize device communication, ensuring a robust and reliable smart home ecosystem.
Read more: How to Connect any Zigbee Device with Homey Pro
Optimizing Your Z-Wave Network with Homey Pro
Mapping Your Z-Wave Mesh
- Understanding Z-Wave Mesh: In a Z-Wave network, devices communicate via a mesh topology. It ensures reliable communication even if a device fails or is out of range.
- Utilizing Homey Pro's Mapping Feature: Use Homey Z-Wave map feature. It provides insights into your network's topology. Identify weak spots, optimize device placement, and enhance network reliability effortlessly.
Healing and Association
- Ensuring Network Stability: Regularly perform Homey Z-Wave heal procedures using Homey Pro. It optimizes device routes and ensuring network stability.
- Associating Devices: Explore Homey Z-Wave association feature. It allows devices to communicate directly, streamlining automation routines, and enhancing responsiveness.
If you’re interested in the Aqara devices, explore How to Connect Aqara Xiaomi with Homey Pro
Z-Wave Update Requirements for Homey Pro
Keeping your devices updated is crucial for optimal performance. With Z-Wave update required for Homey, users can ensure that their devices are equipped with the latest firmware. And it also enhances compatibility and stability. Continuous updates ensures that users always have access to the latest features.
Exploring Homey Pro's Advanced Z-Wave Capabilities
- Nexa Z-Wave Integration: Discover seamless Homey Nexa Z-Wave integration with Homey Pro, expanding your smart home's horizons and unlocking a plethora of automation possibilities.
- Tuya Z-Wave Integration: Navigate the options of Tuya Z-Wave integration with Homey Pro, leveraging the platform's robust capabilities to enhance your smart home experience.
- Aqara Z-Wave Devices: Get familiar with Aqara Z-Wave devices. These offer a mix of reliability and functionality when paired with Homey Pro.
Discover the seamless integration of Zigbee Devices by diving into our comprehensive guide: How to Connect any Zigbee Device with Homey Pro
Final Thoughts
Looking to make your home smarter? Homey Pro is a fantastic choice, especially if you're diving into the world of Z-Wave gadgets. It’s like having a magic remote for all your smart devices. Think about it: no more juggling multiple apps or getting confused. With Homey Pro, everything comes together neatly. Whether you're just starting out or adding to your existing smart home setup, Homey Pro is a real game-changer. Trust me; it's like unlocking a whole new level of convenience and fun for your home.
FAQs about Connecting Z-Wave Devices with Homey Pro
1. Can Homey Pro connect with any Z-Wave device?
Yes, Homey Pro is designed to connect with a vast array of Z-Wave devices. Its compatibility extends to popular brands like Sunricher, Danfoss Ally, Nexa, and more. The hub's advanced mesh technology and automation capabilities make it a reliable choice for Z-Wave integration.
2. How do I prepare my Z-Wave device for integration with Homey Pro?
Ensure compatibility by checking the list of supported devices before integrating a Z-Wave device with Homey Pro. Keep the device firmware updated to the latest. And for a fresh setup, reset the device to clear any previous configurations. Homey Pro's user-friendly interface guides you through these steps seamlessly.
3. What benefits does Homey Pro's Z-Wave mesh technology offer?
Homey Pro's Z-Wave mesh technology creates a robust network of interconnected devices. It ensures reliable communication. Homey Z-Wave mesh network is self-optimizing. It automatically adapts to changes. Also, it provides a stable foundation for your smart home devices.
4. How can I troubleshoot Z-Wave device connectivity issues with Homey Pro?
If you encounter connectivity issues, first ensure that the Z-Wave device is within range and check for potential interference. Reboot Homey Pro and the problematic device. And use Homey Pro's diagnostic tools, such as the Homey Z-Wave map. It will identify and address any connectivity issues. Engaging with the Homey community for insights can also be valuable.
5. Why Choose Homey Pro as One of the Premier Smart Home Hubs That Work with Z-Wave?
Homey Pro stands out not just as a smart home hub. It is also one of the leading smart home hubs that work with Z-Wave. Its seamless integration and advanced features make it a top choice for enthusiasts. Unlike many hubs, Homey Pro also offers Z-Wave siren Homey integration, providing users with auditory alerts and notifications.


